Airtable integration
Learn how to integrate Apify with Airtable. This article shows you how to use the Apify extension on Airtable.
Airtable is a cloud-based platform for organizing, managing, and collaborating on data. With Apify integration for Airtable, you can automatically upload Actor run results to Airtable after a successful run.
This integration uses OAuth 2.0, a secure authorization protocol, to connect your Airtable account to Apify and manage data transfers.
Connect Apify with Airtable
To use the Apify integration for Airtable, ensure you have:
Types of integration
You could integrate Apify with Airtable using one of two available options. This guide explain how to use the extension which is the recommended integration.
- Apify extension on Airtable website.
- Console integration on the Actor page.
This guide will explain how to use the Apify extension, for Apify Console integration go to the Console integration page in the docs.
Setup
Install Apify extension
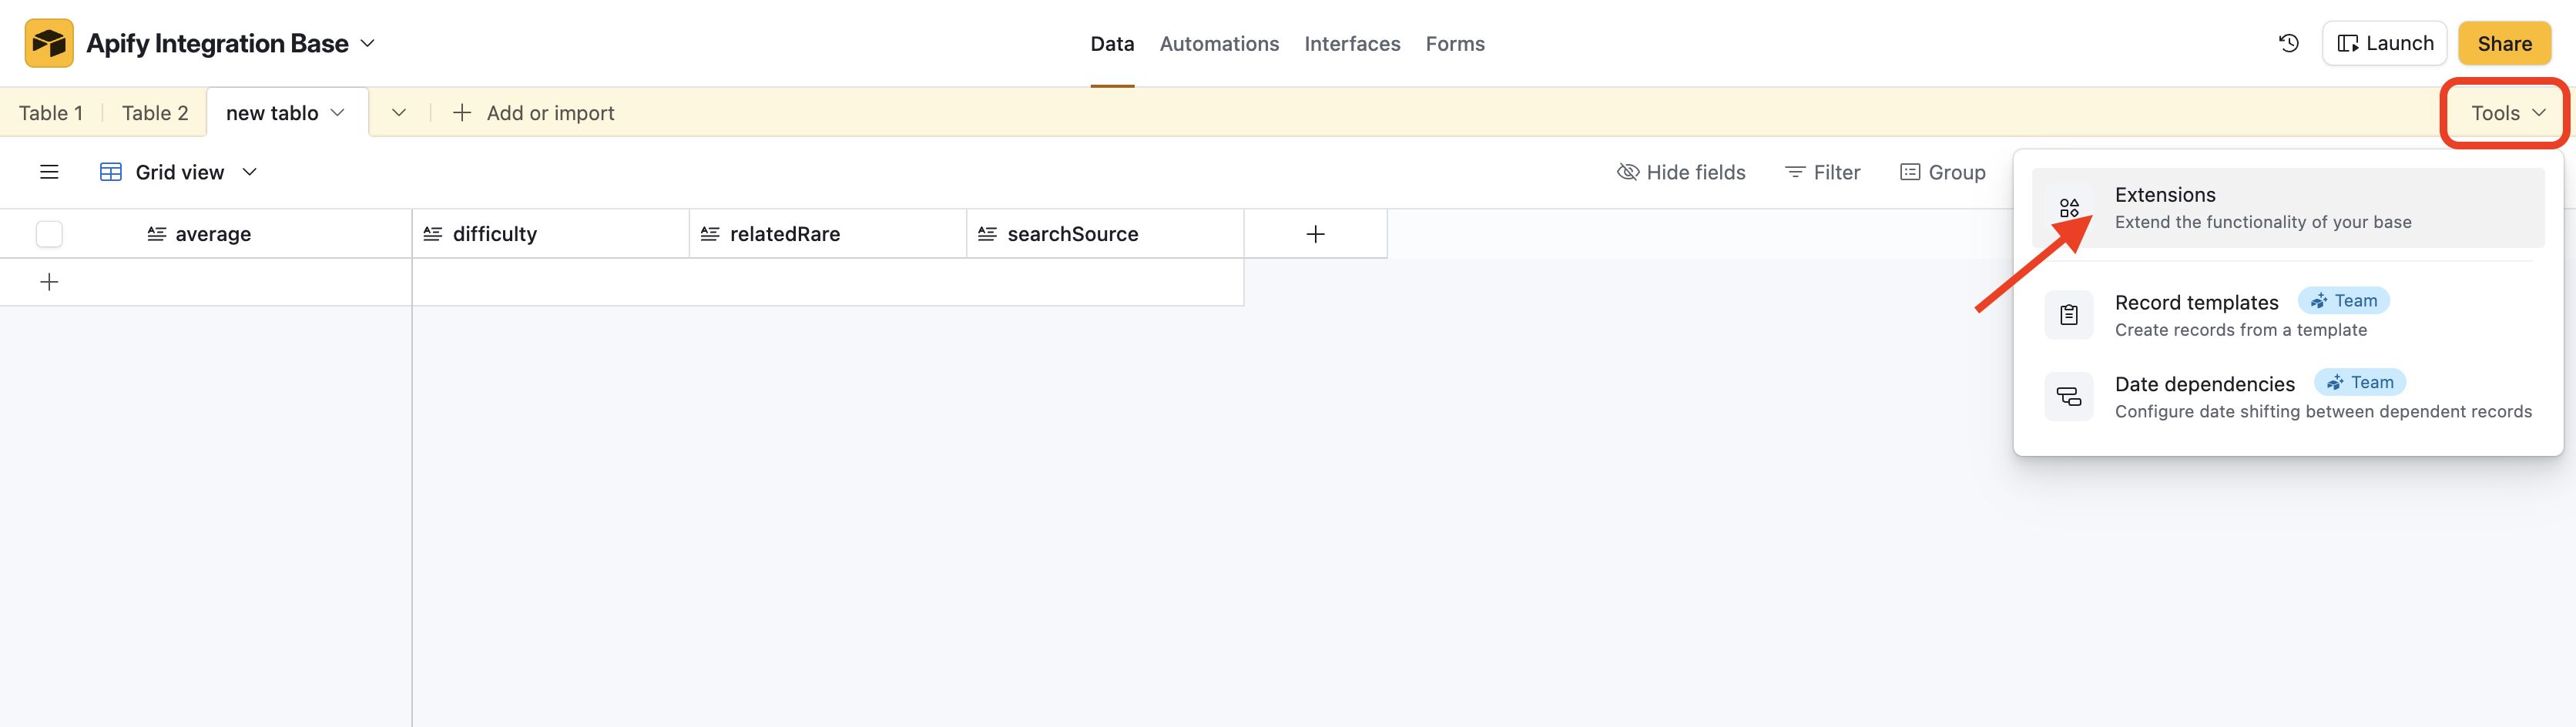
Go to Airtable and open the base you would like to work with. Press the Tools dropdown in the top right corner and click Extensions.
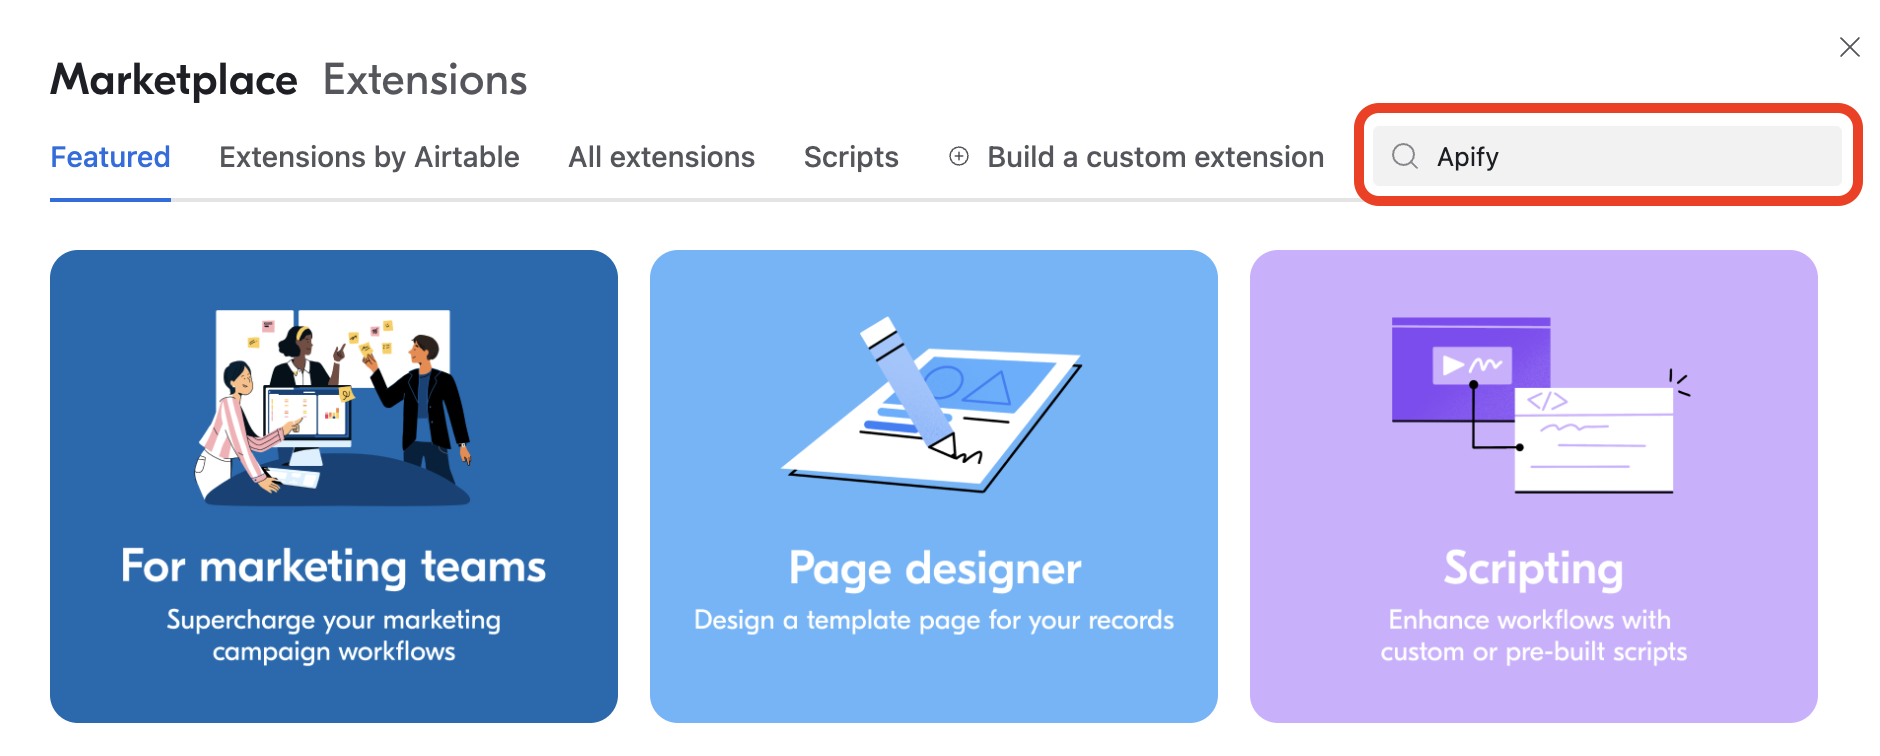
Search for Apify extenison and install it
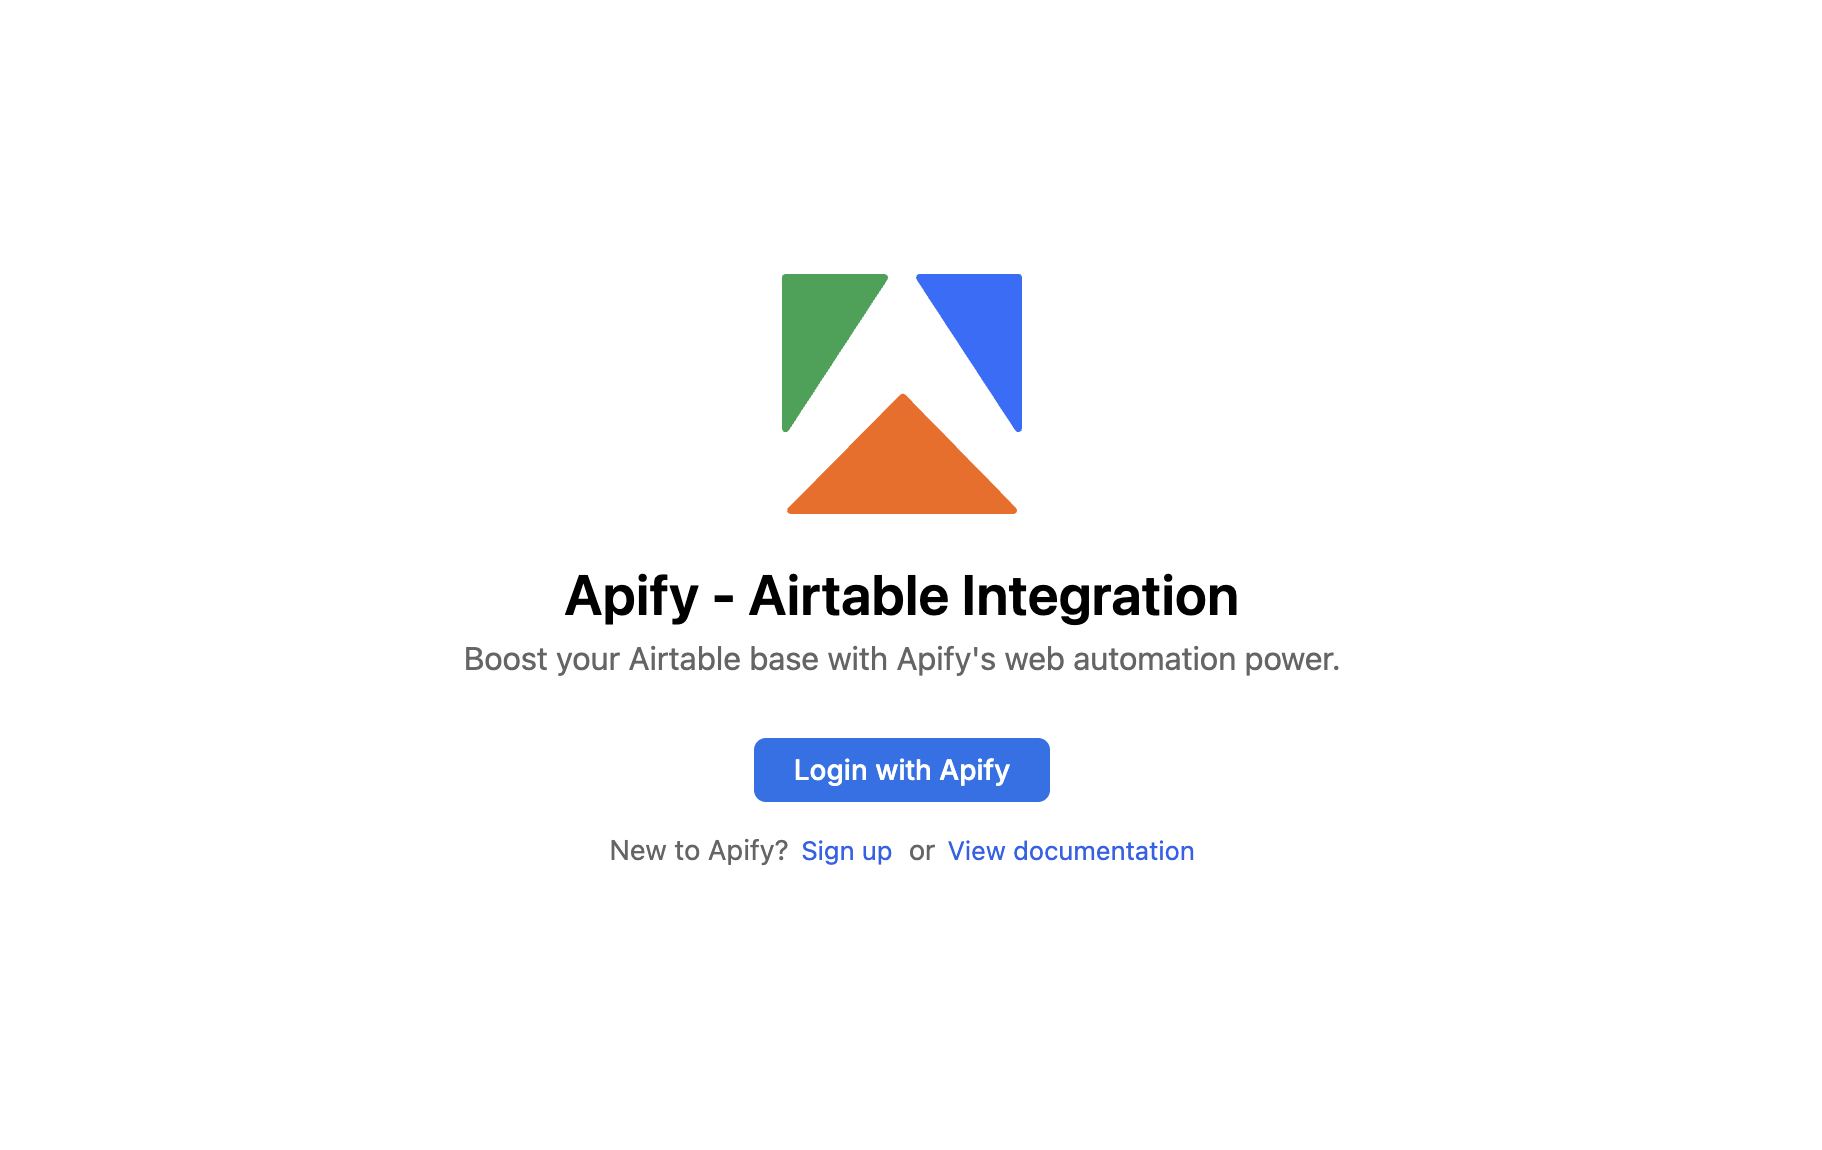
Open the Apify extension and login using OAuth 2.0 with your Apify account. If you dont have an account, visit Apify registration page.
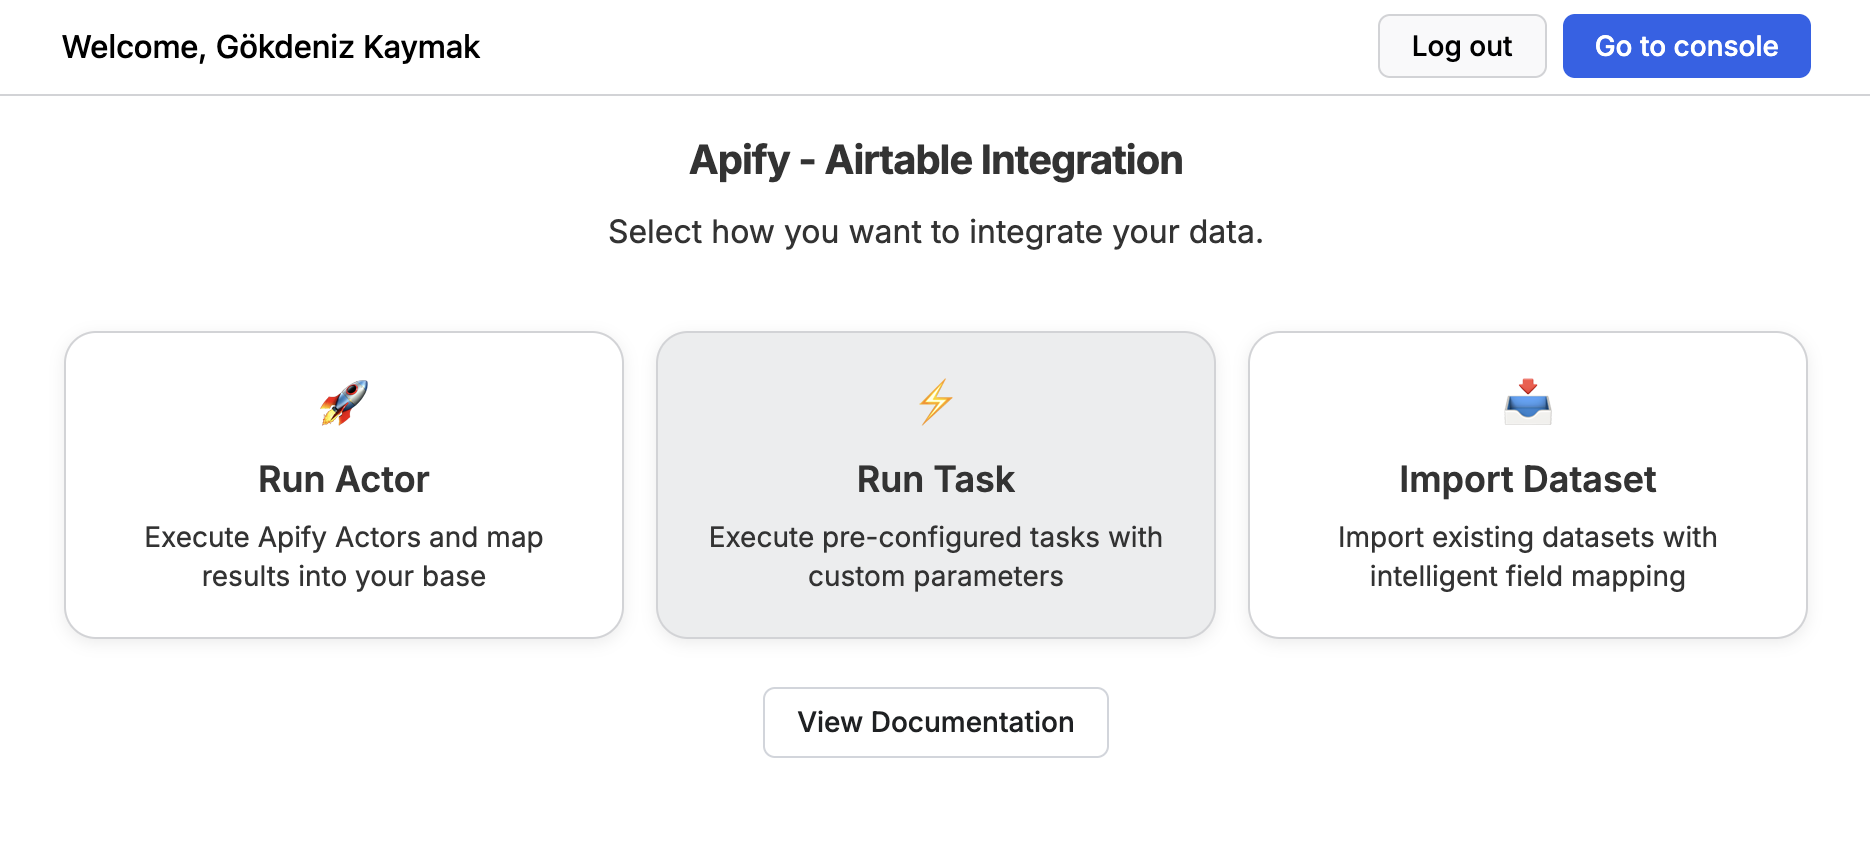
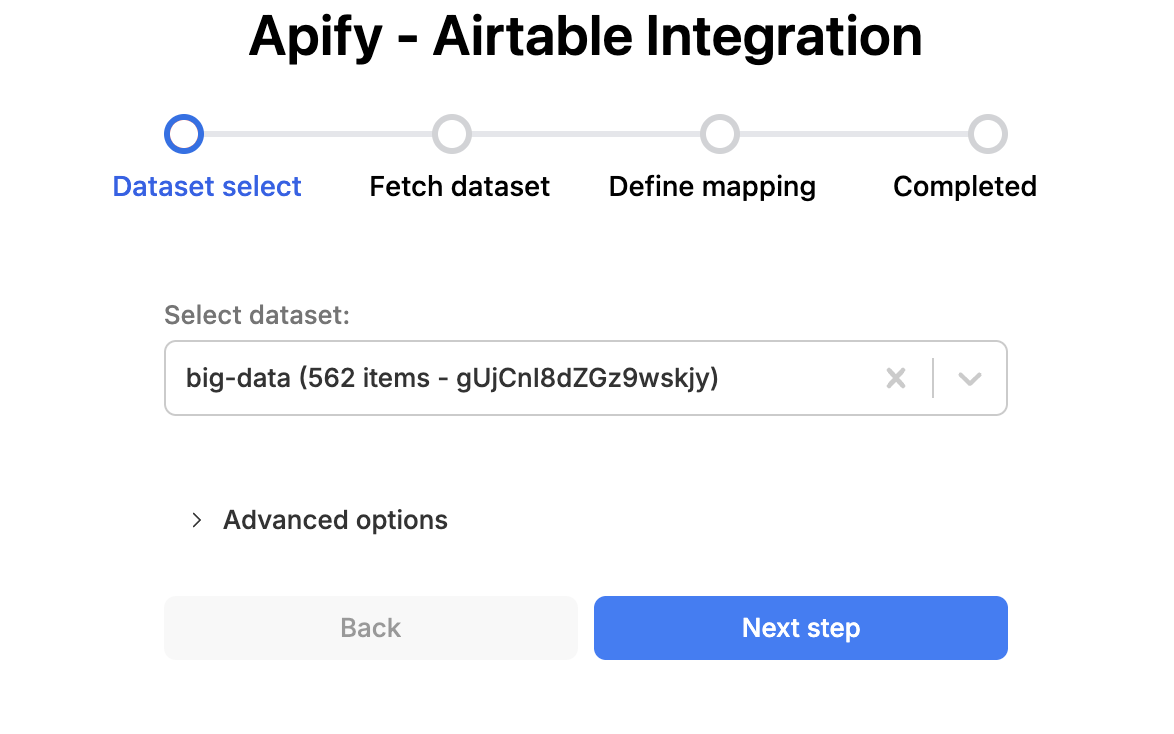
Extension Overview
Apify extension helps you map and import data into your Airtable base.
Features
- Run Actors
- Run tasks
- Get dataset items
- Map and import the data into your base
Run Actor
-
Select any Actor from
Apify storeorrecently used Actors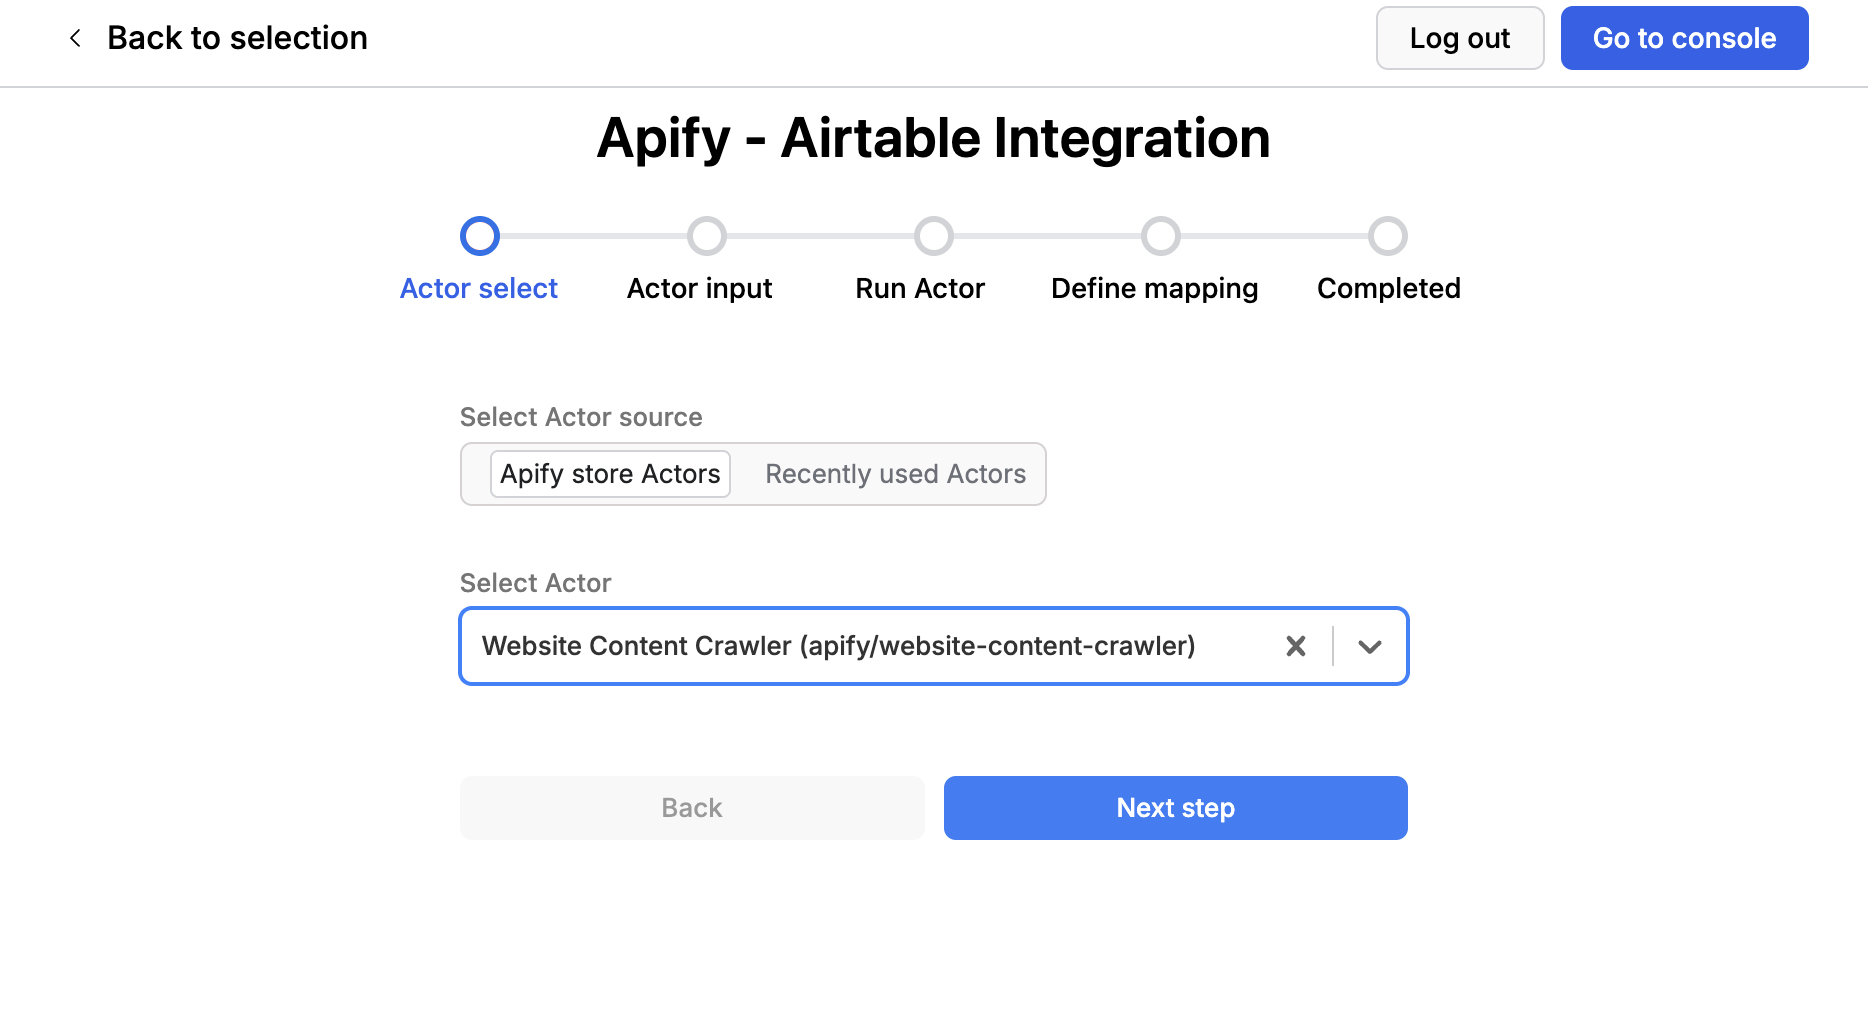
-
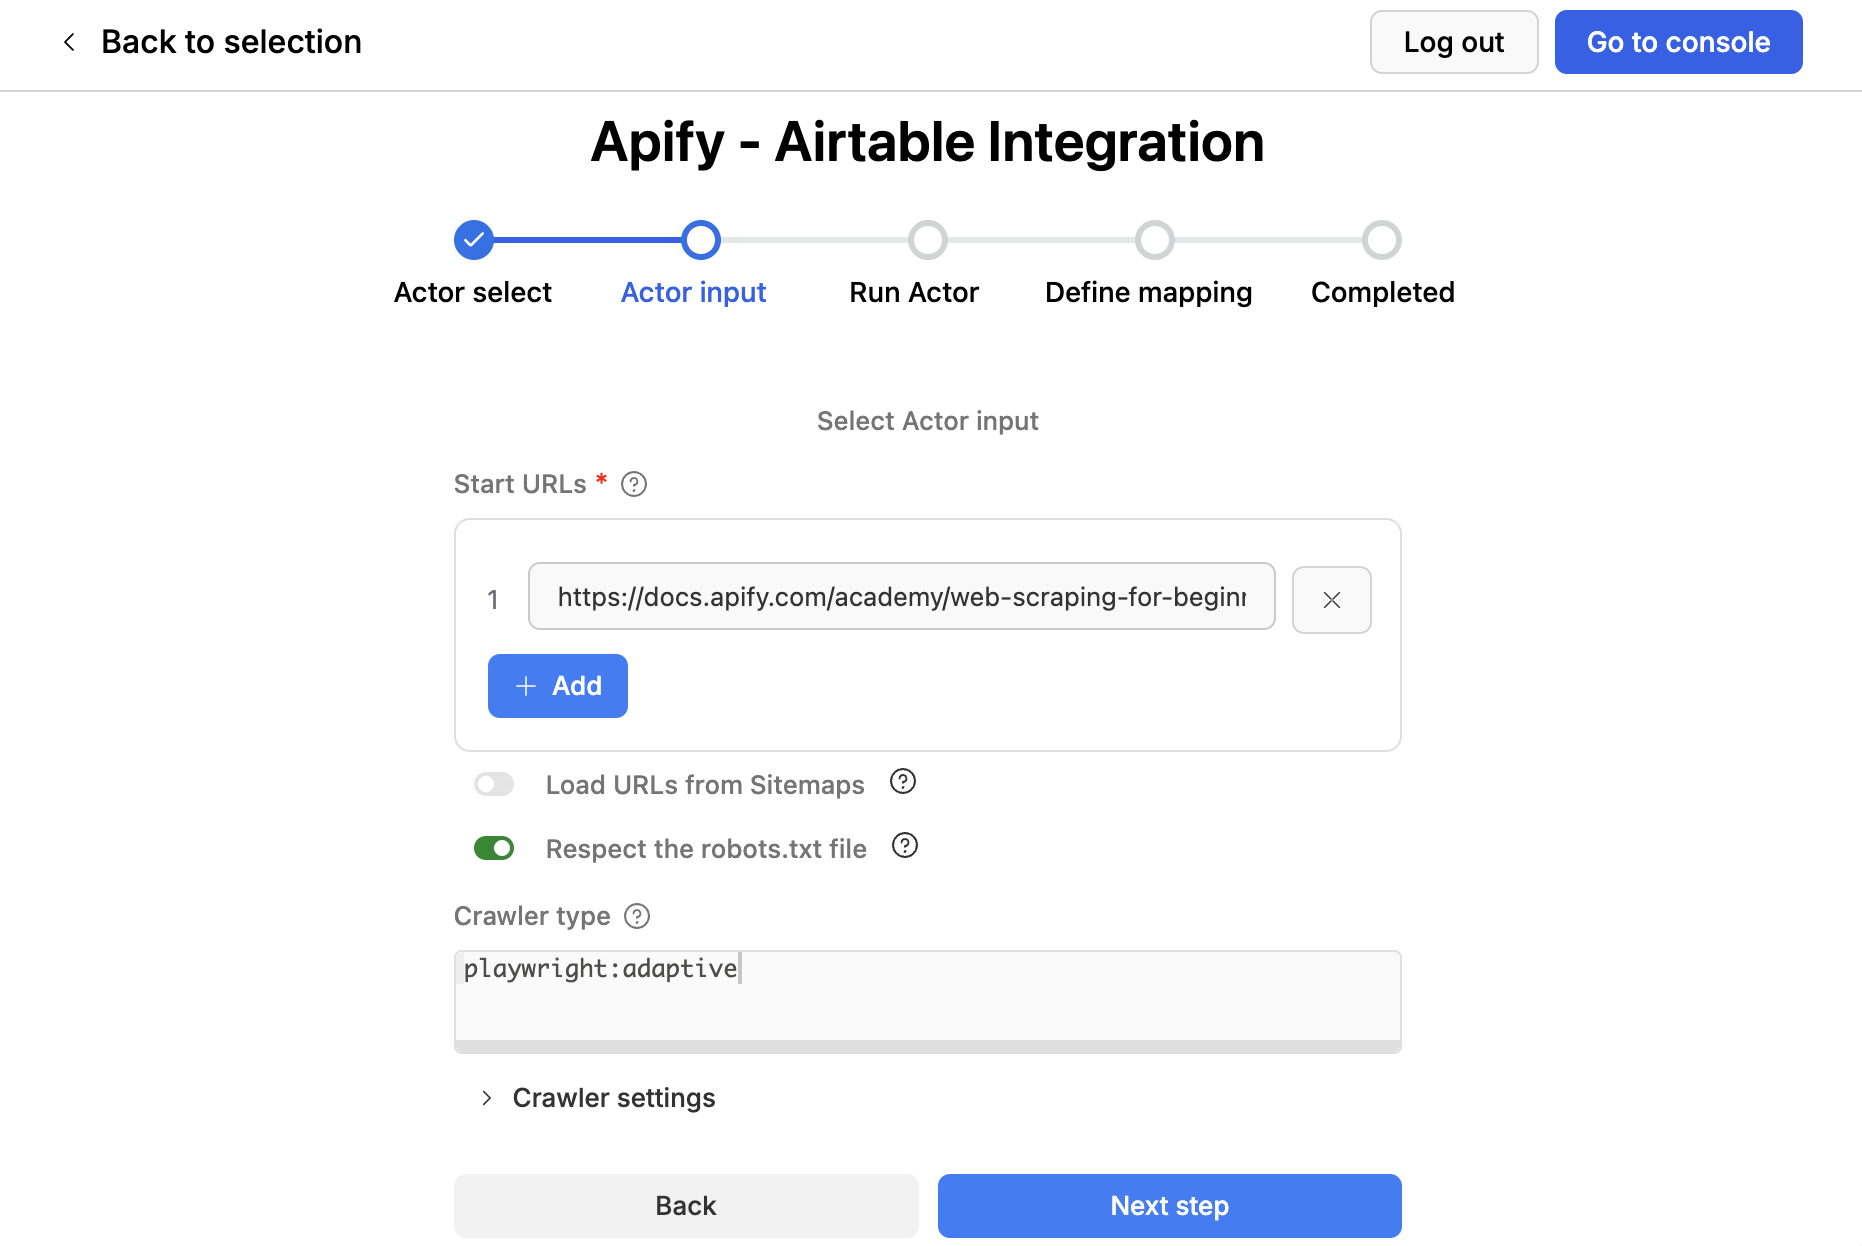
Fill in the Actor input form.
-
Run the Actor and wait for results

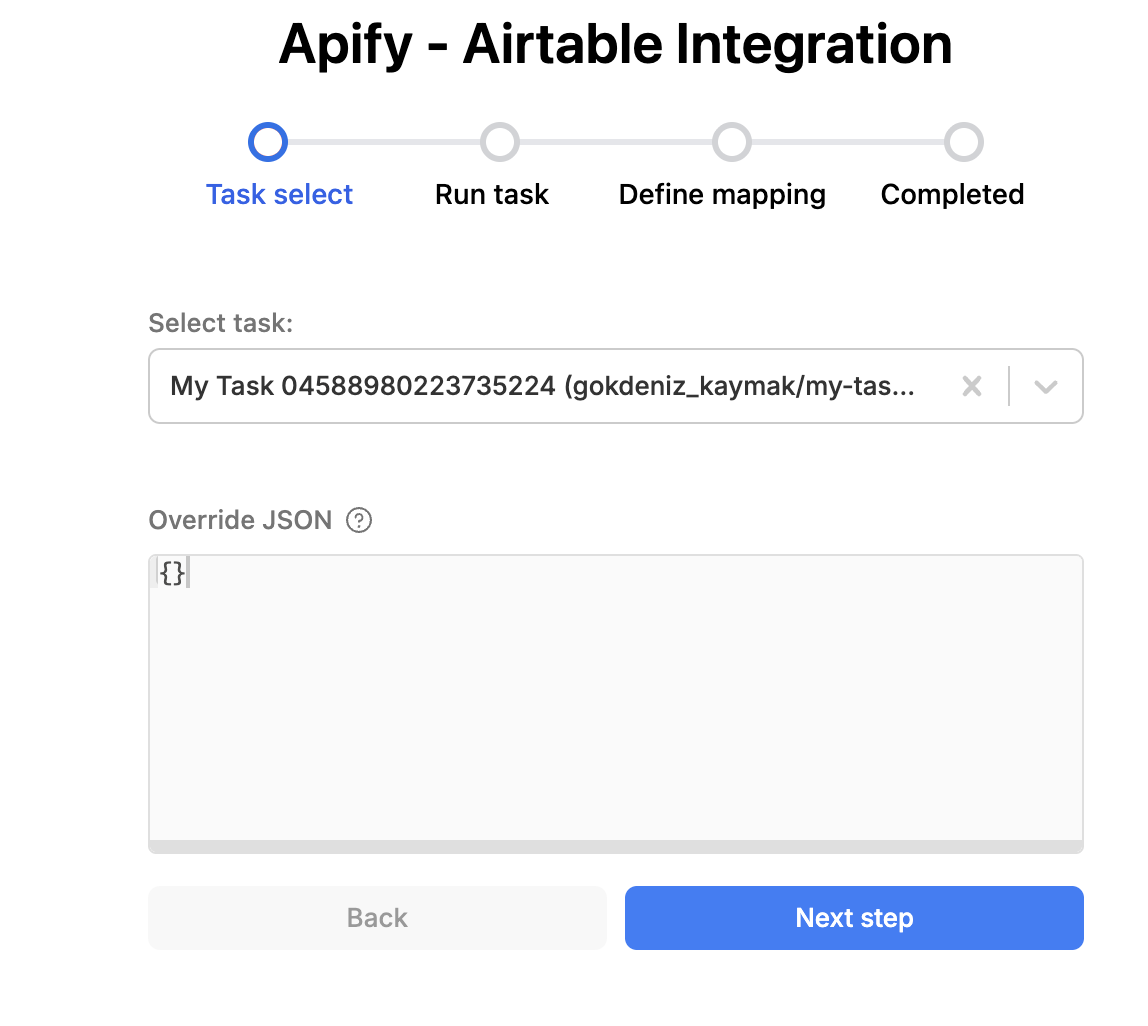
Run Task
You can select and run any saved Apify task directly from the extension to reuse preconfigured inputs.
Get Dataset
Retrieve items from any Apify dataset and import them into your Airtable base with a single click.
Data Mapping
This section will explain how to map your run results or dataset items into your Airtable base
Mapping row
Apify extension has UI elements that allow you to map dataset fields to Airtable fields.
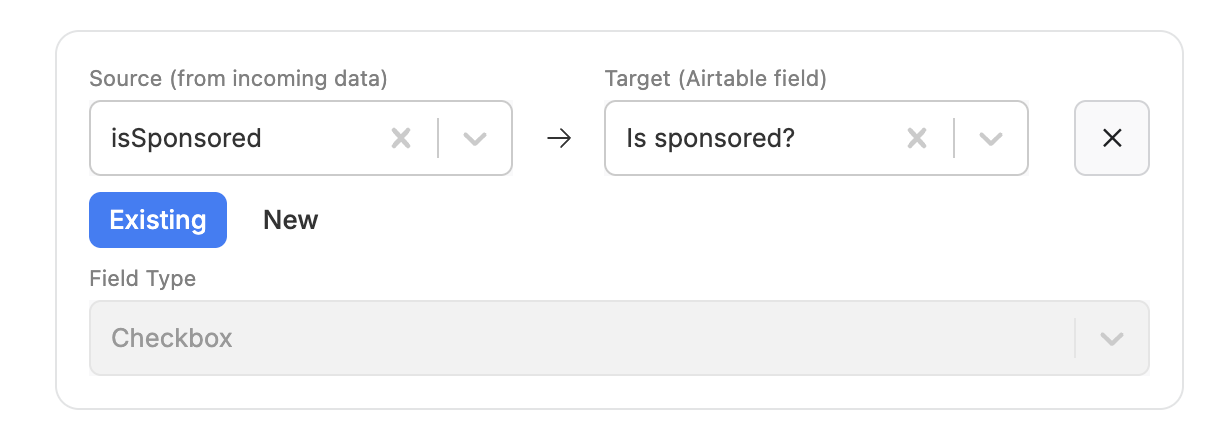
Source: dataset field from Apify.
Target: Target Airtable field label. For mode new it creates new fields in your table
Field Type: Displays the type of the target Airtable field. For new mode you need to also specify this field.
Select Fields to Map
The preview window next to the mapping rows will help you view and pick fields from the dataset. "." character in the labels point to the children elements of an object
Example Source: crawl.depth
{
    crawl: {
        depth: 'the field you selected',
    }
}
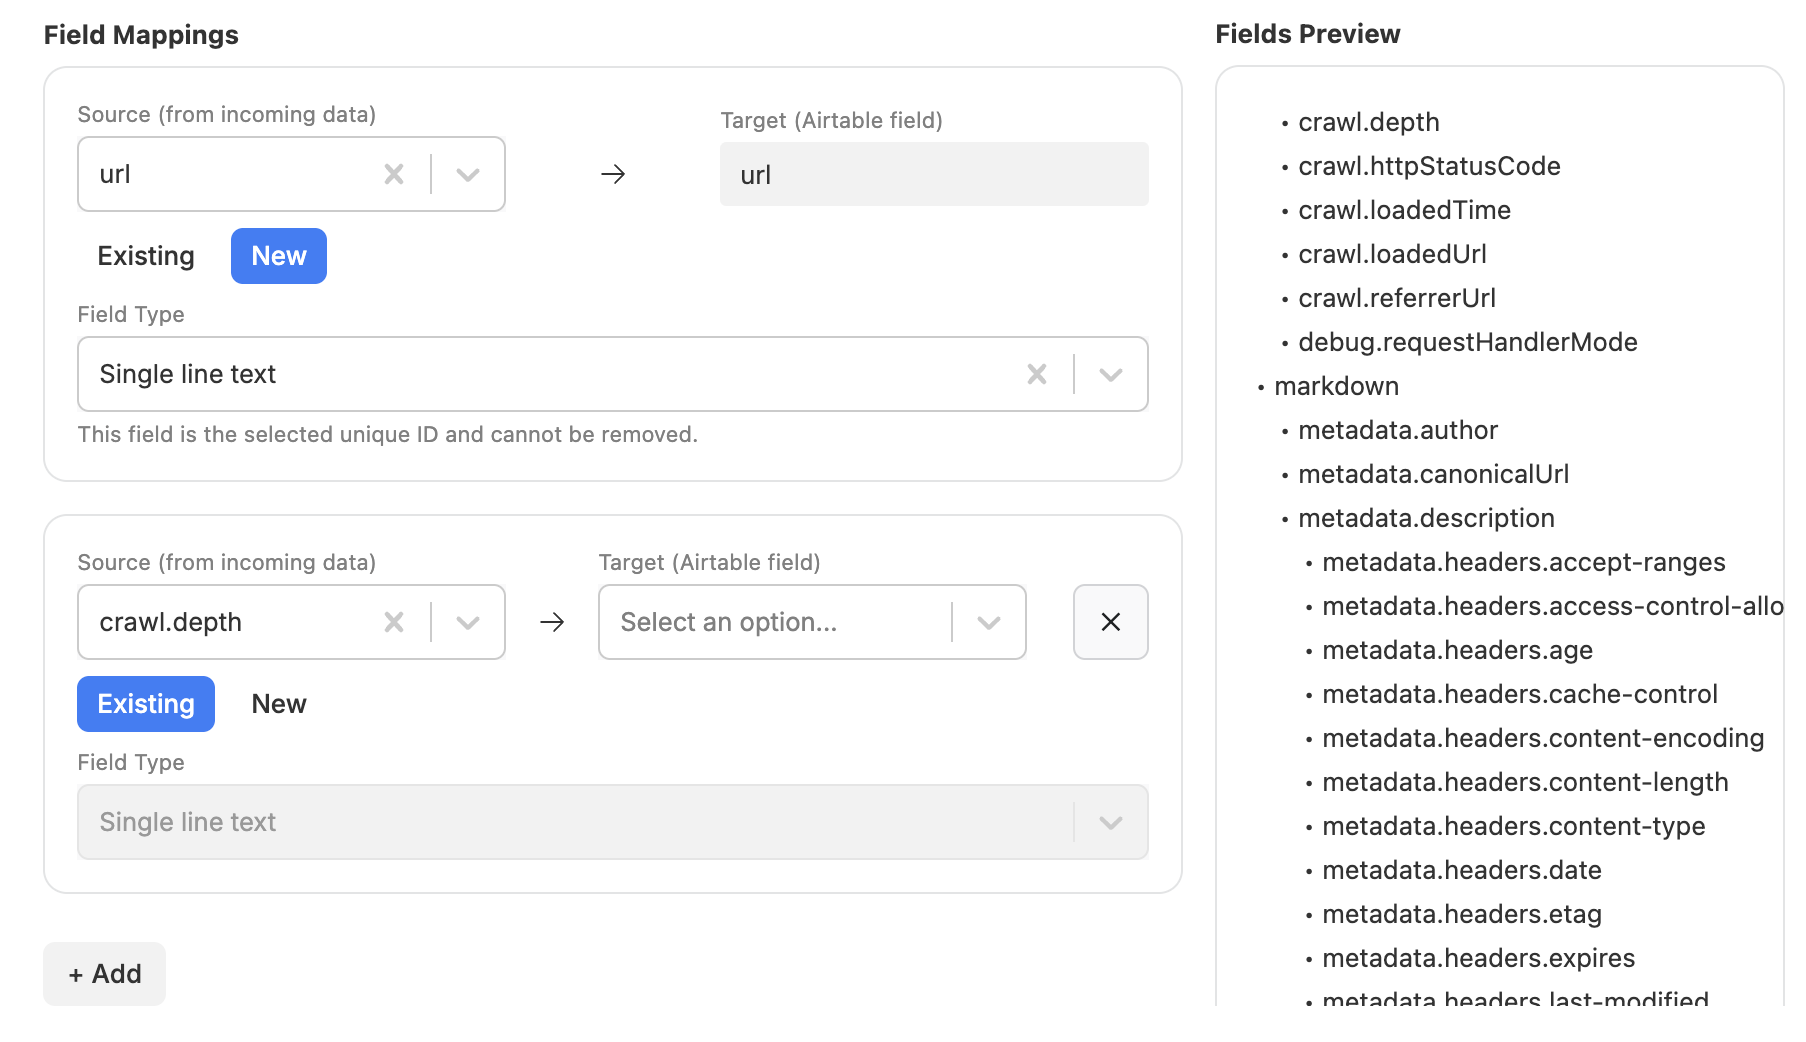
Automatic field matching
Apify extension looks at the field labels in your table and matches them with dataset fields giving you a default list of mappings.
How does it work
Source: crawl.depth
it checks for fields in your table with label either depth or crawl.depth. If there is a match it adds a mapping row automatically.
Import operations
- CREATE: New table is created for each run of this integration.
- APPEND: New records are added to the specified table. If the table does not yet exist, new one is created.
- OVERWRITE: All records in the specified table are replaced with new data. If the table does not yet exist, new one is created.
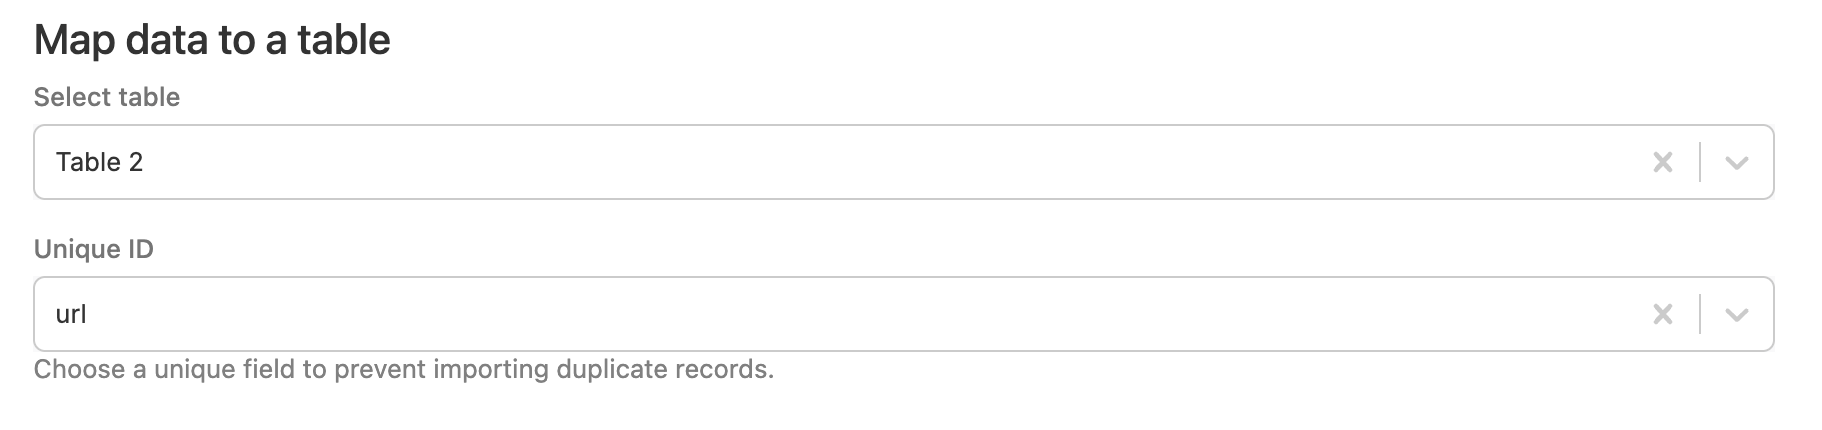
Duplicate filtering
Select a Unique ID on the data mapping step. The unique ID will be added to the list of mapping rows.
Make sure it points to the correct field in your table. While importing the data will be filtered by existing values in the table.
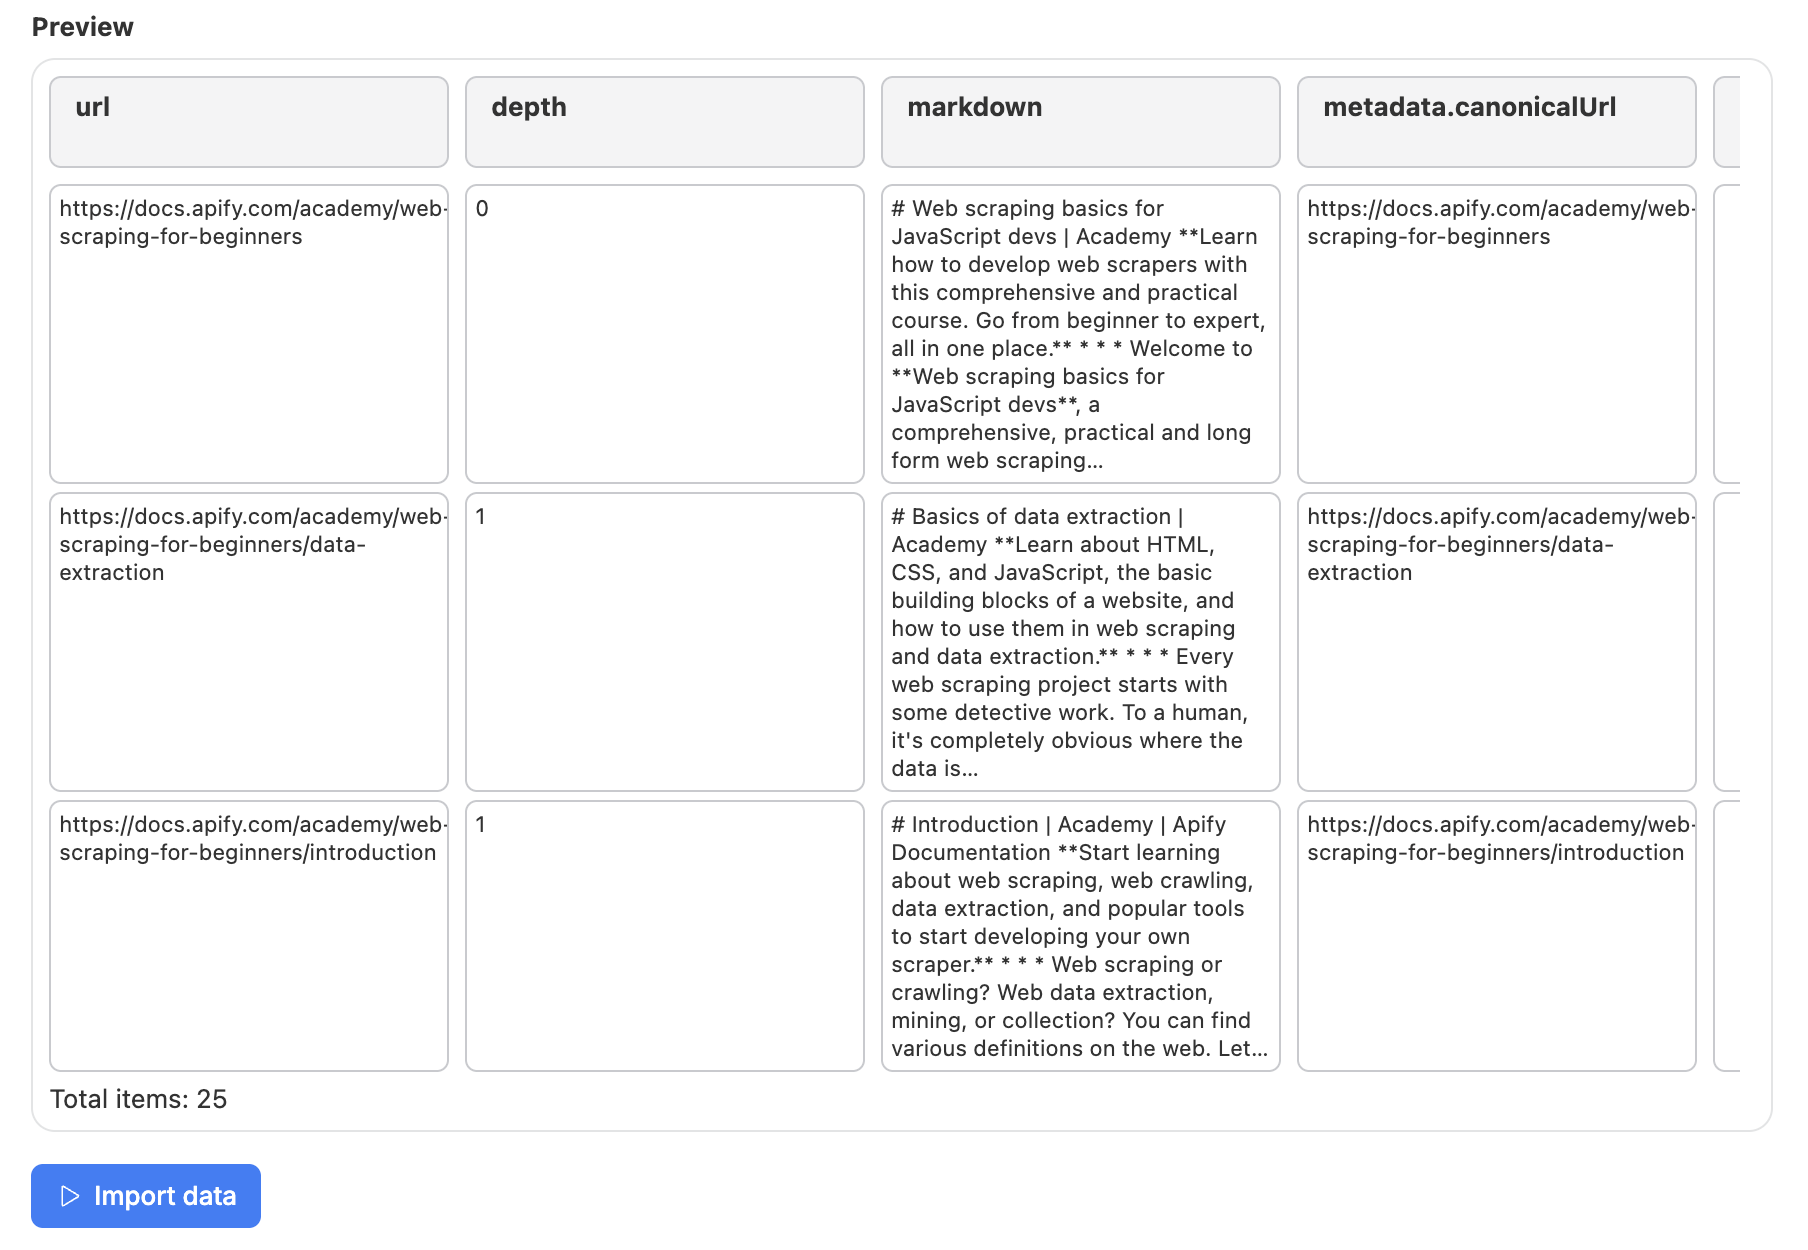
Preview Mapped Data
Preview the results and start the import